How to connect your html file with a Domain

Domain Name Hosting
Domain name hosting refers to the process of assigning a domain name to a web server that is connected to the Internet. So that the domain name can use to access the website hosted on that server. When you register a domain name, you are essentially purchasing the right to use that name for a specified period of time, usually one year. However, to make your website accessible to users on the Internet. You need to have it host on a web server that is connected to the Internet. This is where domain name hosting comes in.
Web hosting companies provide servers that are connected to the Internet and offer hosting services for websites. To host your website, you need to sign up for a web hosting plan with a hosting provider. And then point your domain abi to the server where your website is hosted. This is done by updating the domain name servers (DNS) associated with your domain availability to point to the IP address of the server where your website is hosted.
Once the DNS changes propagate, users will be able to access your website by entering your domain register in a web browser. The hosting provider will also provide you with tools to manage your website. Such as a control panel to upload and manage your website files, and email accounts to communicate with your website visitors.
How to connect your html file with a Spain Servers Hosting Domain
To connect your HTML file with a web hosting domain in Spain, you can follow these steps:
Purchase a web hosting plan from a hosting provider in Spain.
Upload your HTML file to the web hosting account using an FTP client or the file manager provided by the hosting provider. You will need to know the login credentials provided by the hosting provider to access the server.
Once the HTML file is upload, you need to configure the domain to point to the server where your website is hosted. To do this, you need to access the domain registrar where you purchased the domain name. And update the domain servers (DNS) to point to the web hosting provider’s DNS servers.
Be patient until the DNS updates take effect; this process can take up to 24 to 48 hours.
Once the DNS changes have propagated, you should able to access your HTML file by entering your cheap domain in a web browser. The web hosting provider will also provide you with tools to manage your website. Such as a control panel to upload and manage your website files and email accounts.
By following these steps, you can connect your HTML file with a web hosting domain in Spain and make your website accessible on the Internet.
Components of a domain
The components of a domain name are:
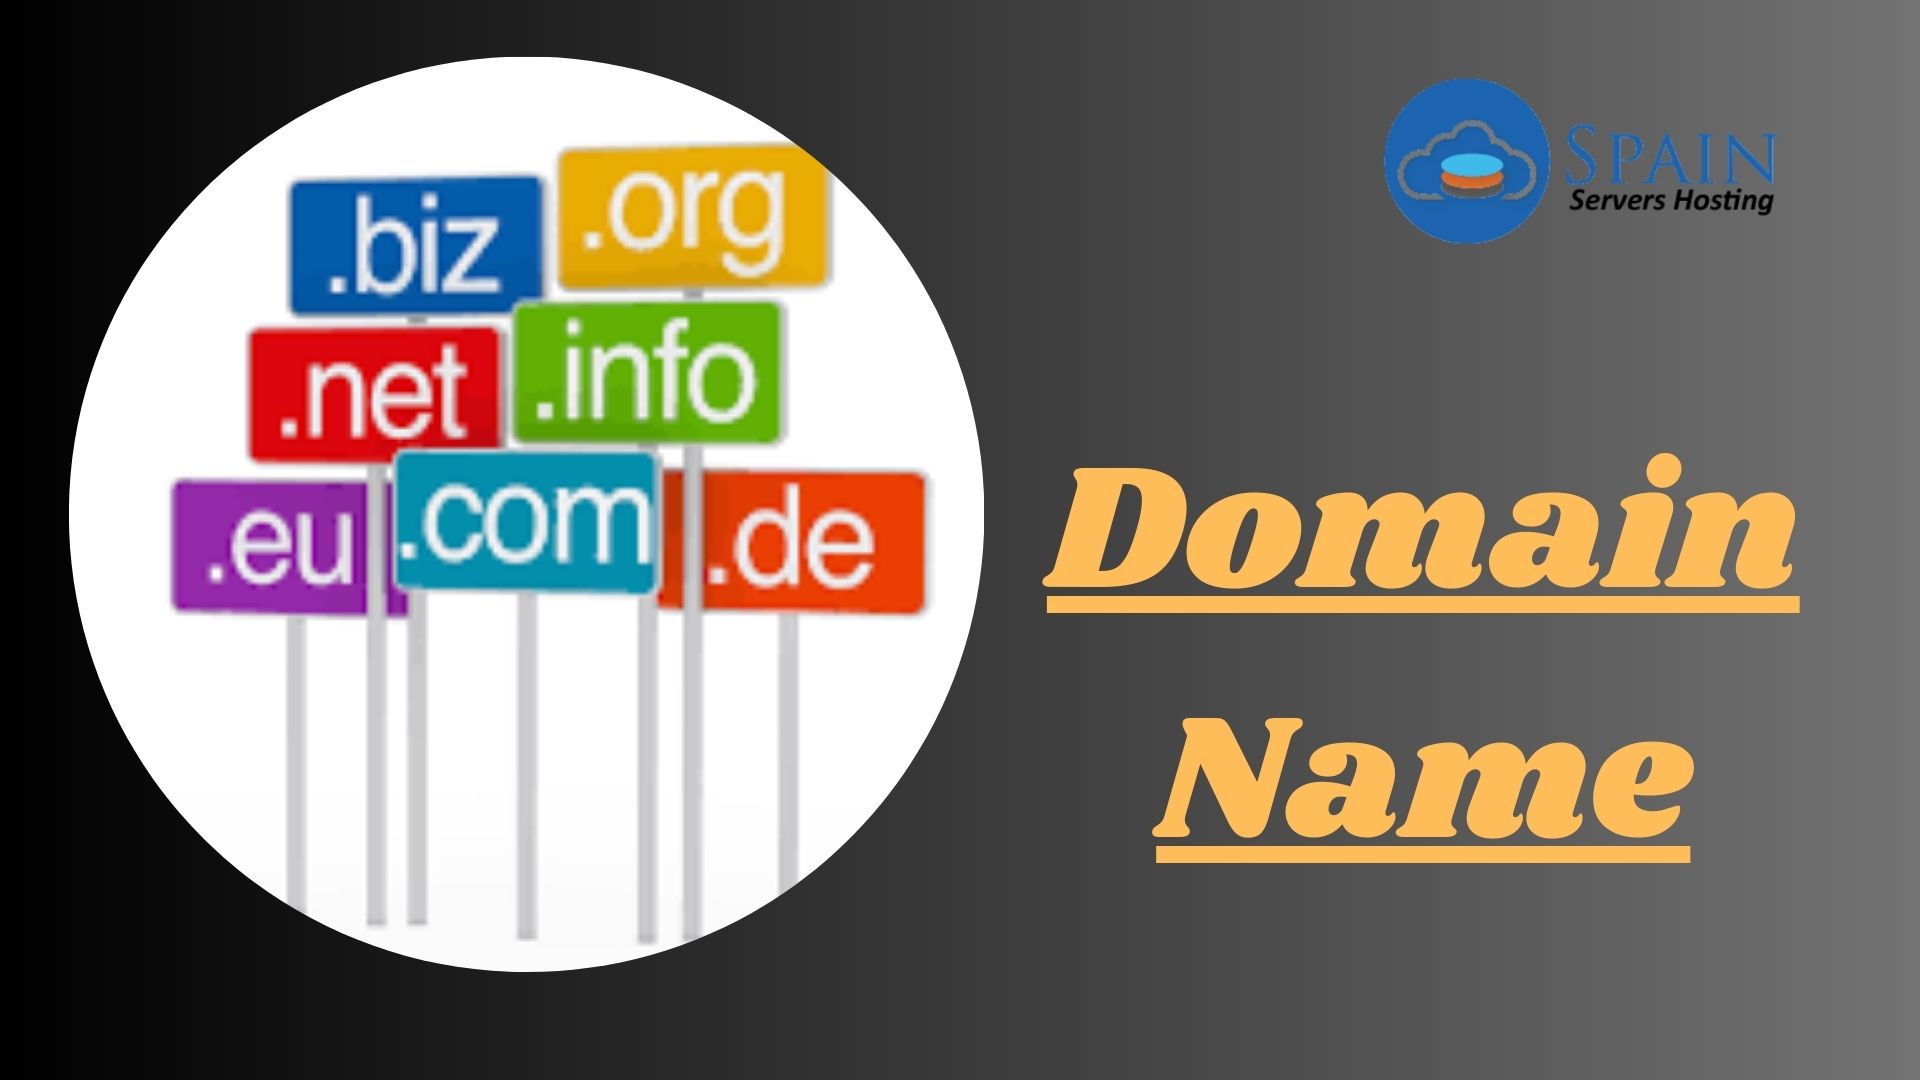
Top-Level Domain (TLD): This is the rightmost part of a domain name, and is also know as the domain extension. Examples of TLDs include .com, .org, .net, .edu, .gov, .biz, .info, .co, and many others.
Second-Level Domain (SLD): This is the part of the domain name that appears to the left of the TLD, and is the main part of the domain name that identifies a website. For example, in the domain name “google.com”, “google” is the SLD.
Subdomain: This is a third-level domain that appears to the left of the SLD, and is use to organize and categorize website content.
Protocol: This is the part of the URL that indicates the type of protocol being use to access the website, such as HTTP or HTTPS.
Domain Name System (DNS): This is a system that translates domain names into IP addresses. Which are use by computers to locate and connect to web servers.
Together, these components make up a complete domain name, which is use to identify and access websites on the Internet.
How to buy a domain
To buy a domain, you can follow these steps:
Choose a domain registrar: There are many domain registrars to choose from, such as Onlive Server, Onlive Infotech, Spain Servers, Instant Server Hosting and others. Each registrar has its own pricing, features, and domain extensions available.
Search for domain availability: Once you have chosen a domain registrar. Use their search tool to check if the domain name you want is available. If it is not available, the registrar may suggest similar domain names or extensions that are available.
Select a domain name: If your desired domain name is available, select it and add it to your cart. You may also have the option to purchase additional services, such as privacy protection, website builders, or web hosting.
Create an account: To complete the purchase, you will need to create an account with the domain register and provide your personal and billing information.
Complete the purchase: Once you have entered your information, review the purchase details and complete the checkout process. The cost of the domain name will vary depending on the registrar. The domain extension, and any additional services you may have added.
Verify ownership: After the purchase is complete, you will need to verify your ownership of the domain by following the registrar’s instructions. This may involve setting up domain servers (DNS), adding records to the DNS, or other verification steps.
Once you have completed these steps, the domain name will registered to you and you will have full control over it. You can then use it to create a website, set up email accounts, and more.


